

On the Road Homemade Jam!
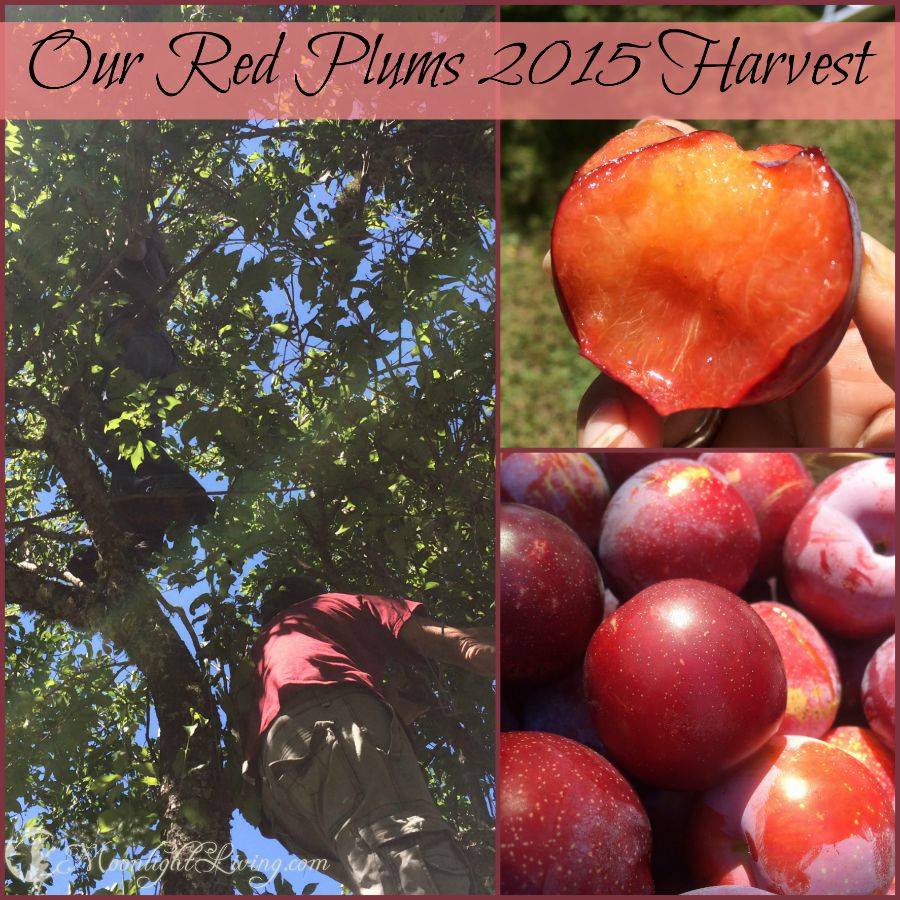
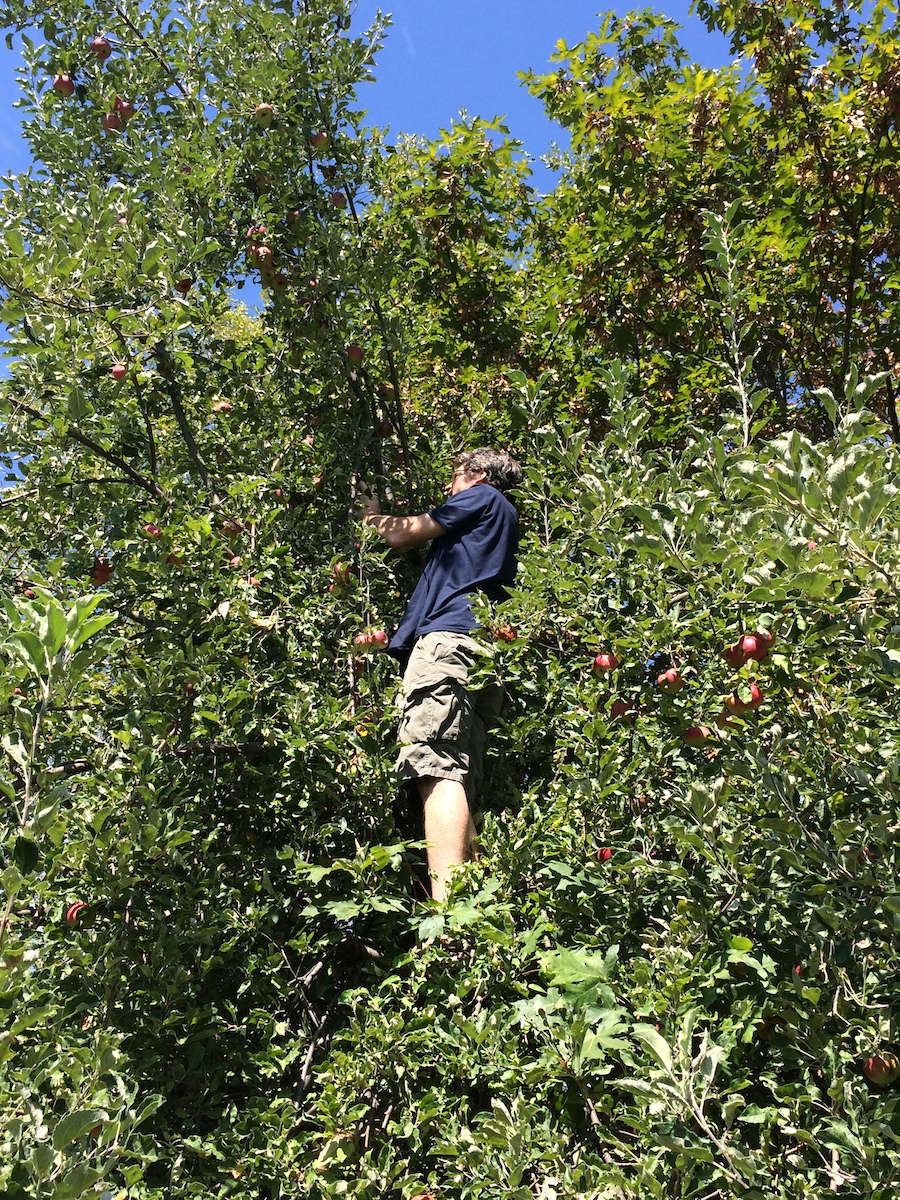
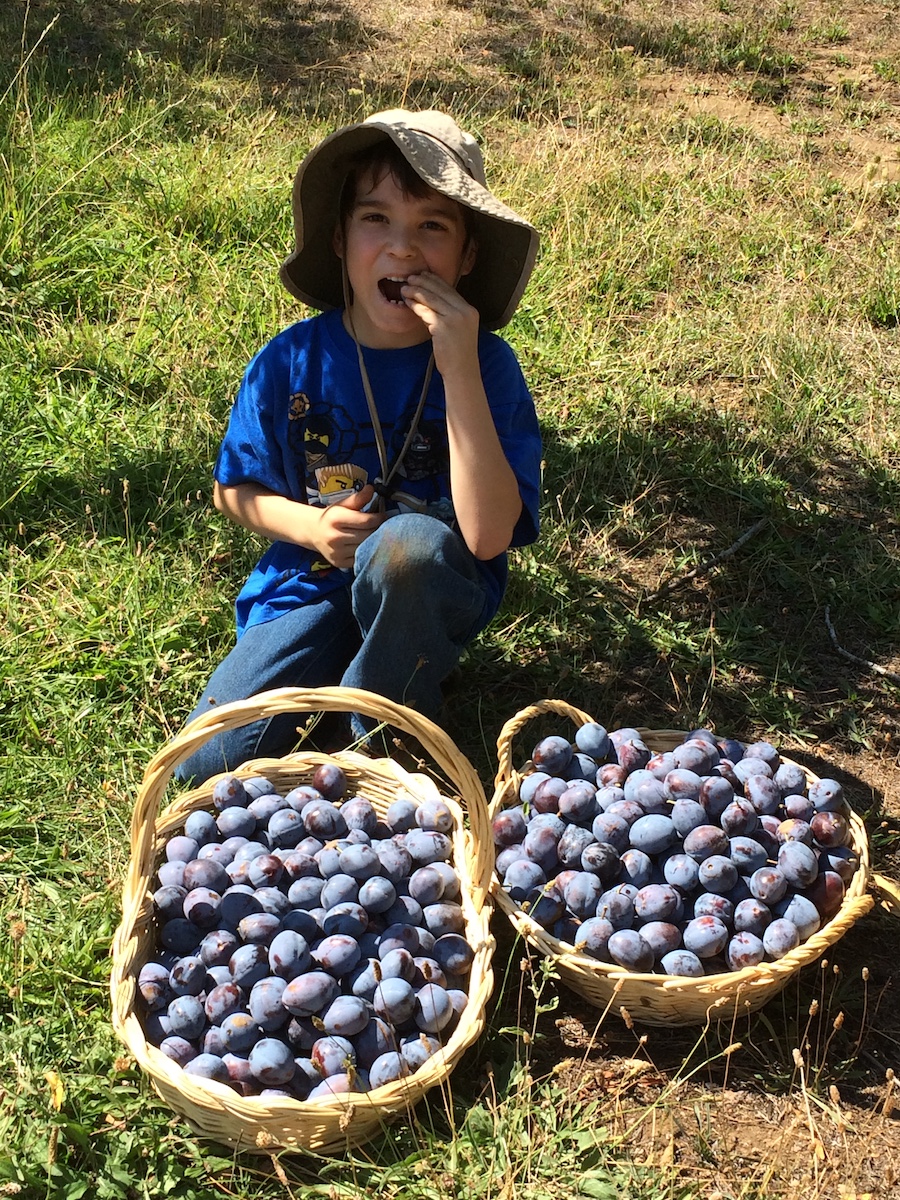
When we owned our little homestead, we had a wonderful orchard. It was my first time ever owning an orchard so with two kinds of Cherry trees, Red and Italian plums, Pear, Quince and a variety of Apples I had to learn how to Can. Of course, we had some years yield more than others but knowing how to Can helped me make it last through the winter.
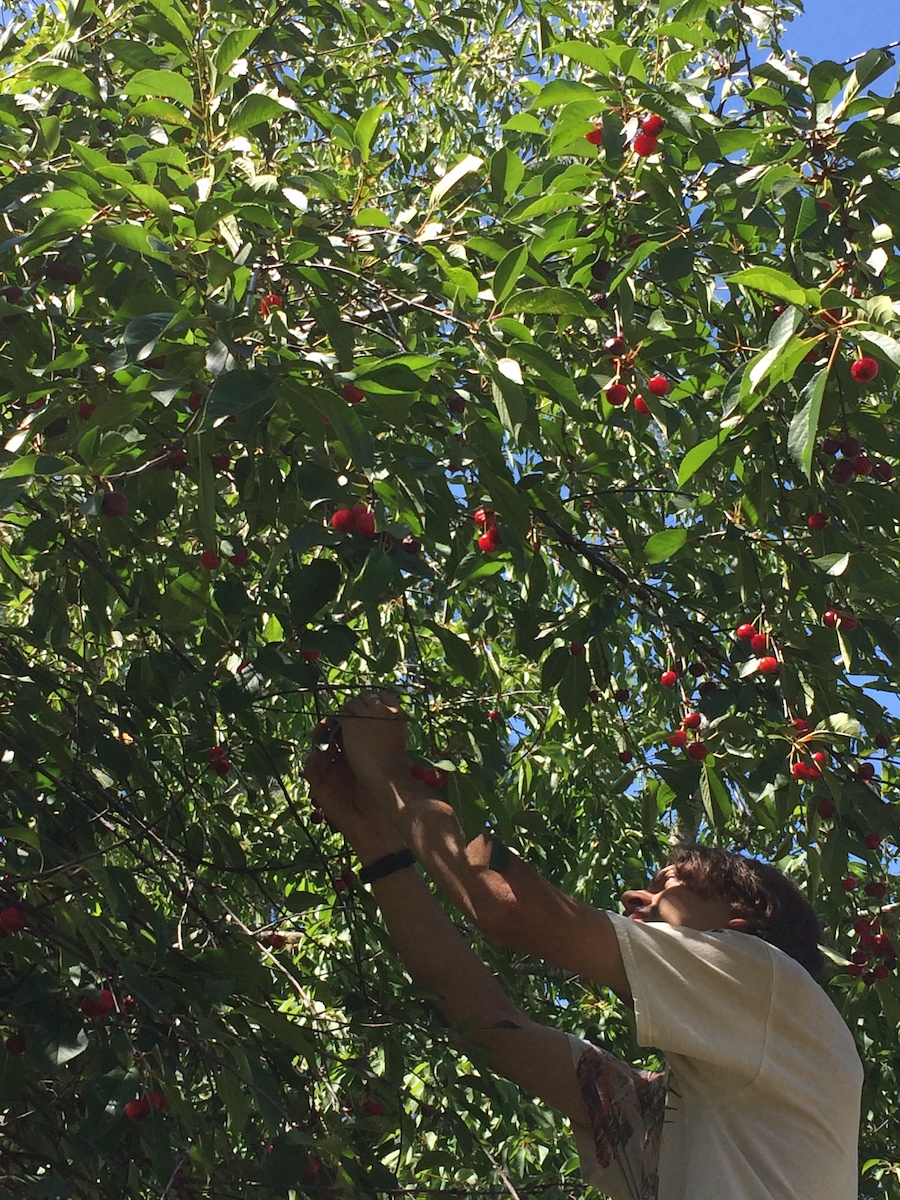
Harvesting them all was a chore but oh so worth it in the end. The big boys had to climb high up in the trees but in the end it was up to me to create deliciousness from it all.
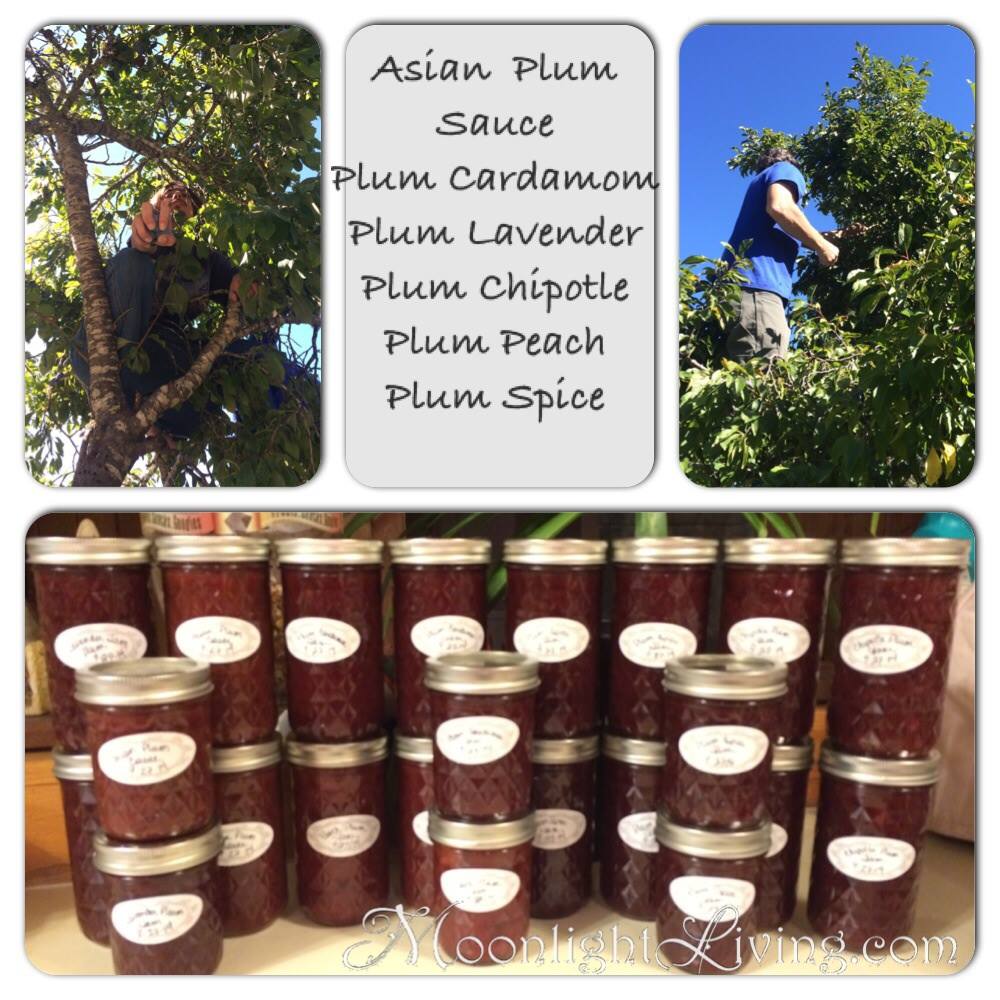
Besides eating them fresh off the trees, I enjoy making them into pies. But one of my favorites was making homemade jams.
Now living on the road…
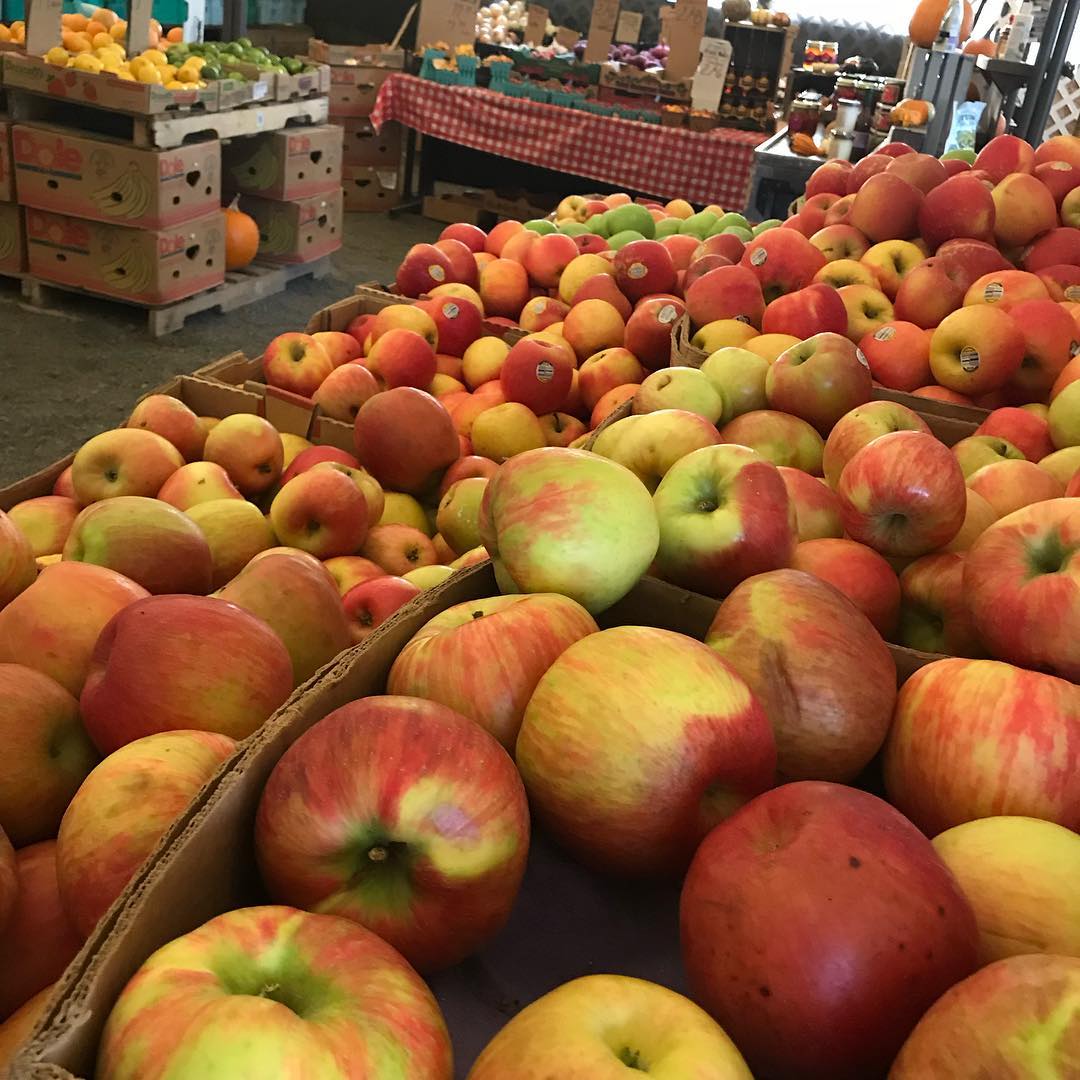
I enjoy buying farmer’s market produce, but sometimes we have to settle on frozen fruit. I also found a quicker, easier recipe that yields smaller batches AND less sugar. So, I’ve learned how to tweak it to my tasting, as well as, to use various fruits. So far we’ve had Strawberry Lavender, Strawberry Pineapple, Strawberry Mango, Blueberry, and Peach using both fresh and frozen or a combo of both, all of which are yummmo.
This time my little wanted “Cherry” jam! I’ve never heard of, much less tasted Cherry Jam. So, I took my favorite “on the road” jam recipe, as I like to call it; which I can make smaller batches with (you know, limited space in RVs) and I can to tweak. I added some cinnamon, nutmeg and a little Almond extract and Wow! It tastes amazing. Another thing to check off my back to school list.
So, here’s the recipe adapted from the Paleo Raspberry/Blueberry jam.
- 2 – 16oz bags of frozen Cherries (approx. 4 cups)
- 1/3 cup Honey
- Juice of one whole lemon
- 1 tsp Cinnamon
- 1/4 tsp Nutmeg
- 1 tsp Almond Extract
- I use a medium sauce pain and place it on low heat.
- Add the frozen cherries, allow them to thaw.
- Once thawed that you can see the juices, I add the honey and lemon juice, mixing it well.
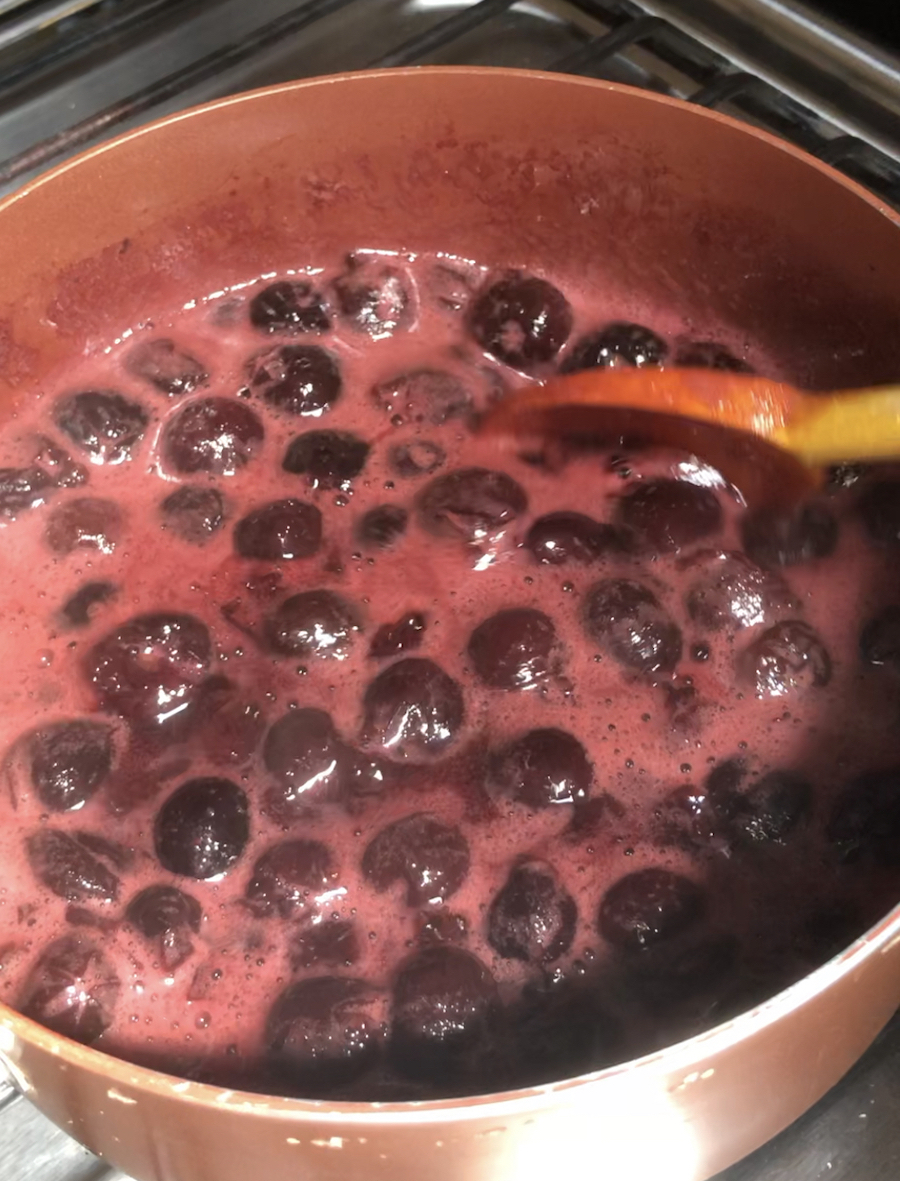
- Bring it to a boil, then reduce to a simmer and allow it to cook down.
- After about 15-20mins you will see the cherries broken down.
- The key is the longer you cook it the thicker your jam, so I like to lower the heat and allow it to thicken further.
- Then I add the Almond extract, cook another minute and then take it off the heat.
- Before I put them in the jars, I do one last thing, my little doesn’t like chucks of fruit. So I take my emersion blender and blend it up enough to break it down the rest of the way.
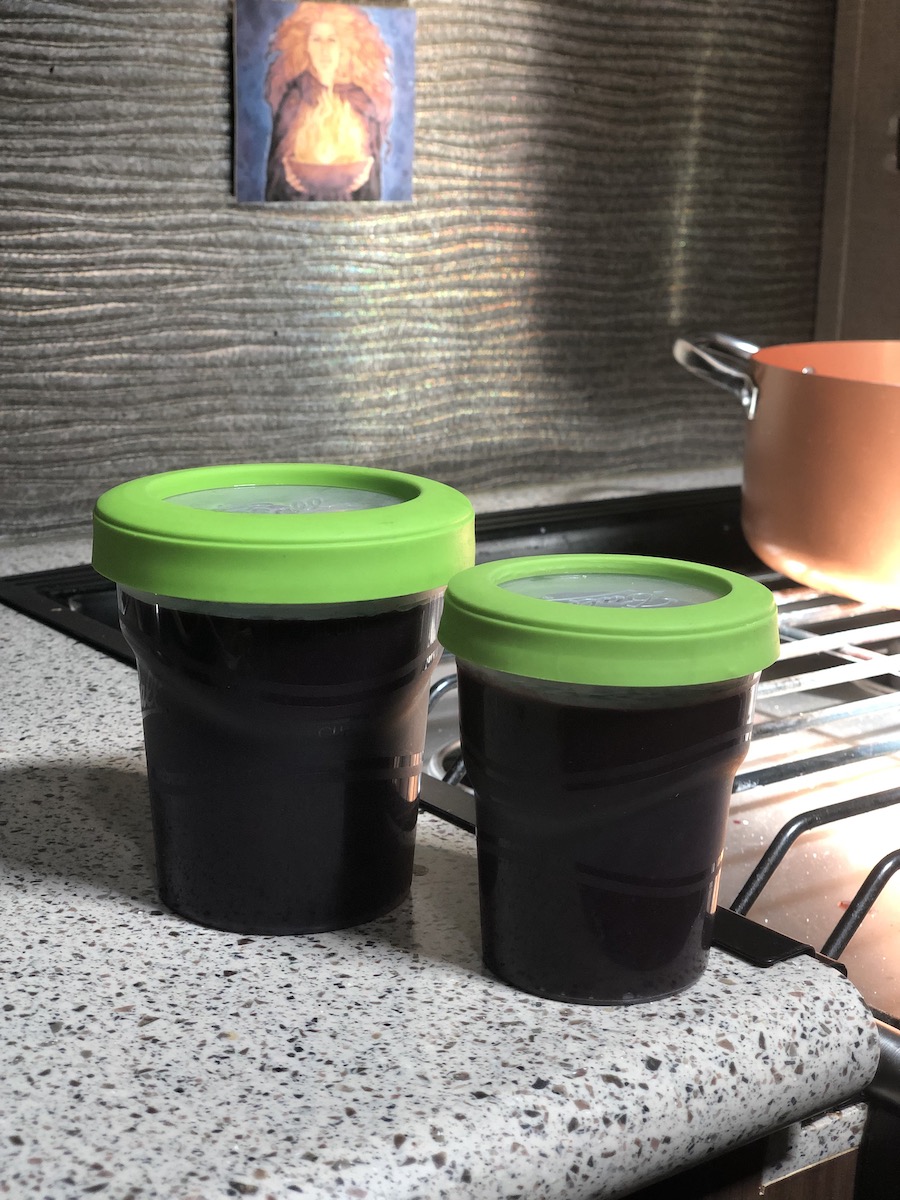
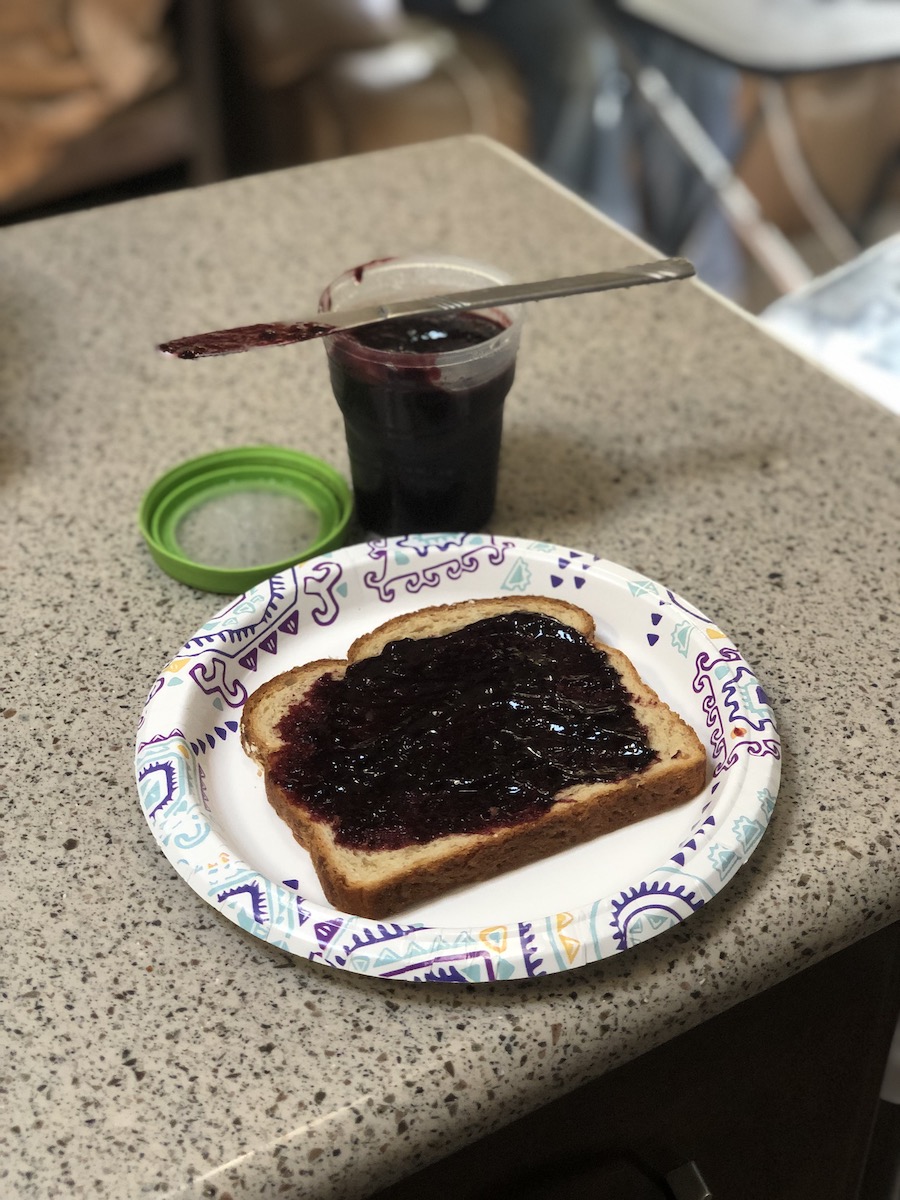
Then I just put them in our Freezer Jam jars and walla delish jam!
Just to be clear the basic recipe is the Fruit, Lemon Juice and Honey. And like I said you can adjust the sweetness (as you can see I use way less then the original recipe) and of course the fruits you use.
I’ve used the jams in various recipes, as well as, of course lunch sandwiches and crackers with cheese.
I love that I can control the amount of sweetness and that it 3 simple natural ingredients, which I can tweak by adding my own spices to and that my kiddo loves it!
If you give this recipe a try, let me know what flavors you’ve created!